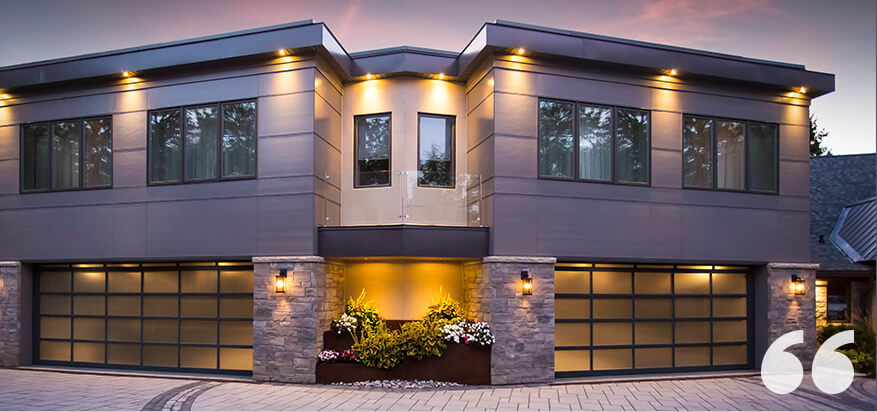
You’ve just picked out a new garage door and are getting ready to install it. The good news is after you’ve selected a garage door you love, you’ve already won half the battle. The next step is to frame the rough opening of your garage to fit your new garage door.
Building a frame for your garage door lets it fit snugly against the opening. It also allows you to attach elements like the track and spring. In this guide, we’ll break down the process of framing a garage door into easy-to-follow steps.
Jump to:
Understanding Rough Openings for Garage Doors
It is crucial to understand the difference between the rough opening and the finished opening. In the garage door installation business, we refer to the “rough opening” or the “rough framing” as the size of the opening before the finished framing is applied. The rough opening should be slightly larger than the size of your garage door, to leave room for the frame.
The finished opening is the remaining negative space after you have installed the framing. This finished opening should be the same size as your new garage door, or slightly smaller. For example, if the door is 16-by-7 feet, then the completed garage door opening should also be 16-by-7 feet.
Standard and roll-up garage doors work differently than other kinds of residential doors. While garage doors close up against the rough opening, doors such as closets and front doors fit inside their finished openings.
How to Frame a Garage Door
To frame a door, you must install a header, two rows of side jambs and framing to attach the track, and the spring’s center bracket. Follow these steps to get your rough opening ready for your brand new garage door:
Step 1: Gather Supplies
You’ll need a tape measure, a pencil, a circular saw or bandsaw and some 2-by-6 inch lumber. You can also use PVC garage door jambs instead of lumber. You’ll need enough lumber for double the length of your garage’s floor-to-ceiling height and double the height of each side of the rough opening. You’ll also need lumber to line the width of the header and the distance between the header and the ceiling.
You will have to choose what material to use for the jambs before calculating the size of your garage door’s finished opening. Many frames are made of wood, but you can also choose a PVC door jamb. The thickness of the material you use will determine how big the garage’s opening is after you’ve installed the frames.
Step 2: Measure the Garage Door Rough Opening
Before you add your framing, the rough opening should be larger than the garage door you’ve chosen. The distance between the garage floor and the rough header should be one and a half inches longer than your new garage door’s height. For example, in a standard seven-foot-tall garage door, the header should be eight and a half inches above the finished floor.
The header itself should be nine inches wider than the door. The rough opening’s width should be three inches longer than the door, measured between the left and right edges. So, in a 12-foot wide garage door, the rough opening will be 15 inches wide.
Step 3: Install the Head Jamb
Door jambs are the planks of wood on either side of the opening and the top header. Door installers sometimes refer to the two on either side as “side jambs,” and the one above the doorway as the “head jamb.”
It is vital to install the head jamb first, so the side jambs can rest flush against it. Measure the header to fit the horizontal opening of the garage, which should be the length of the garage door plus nine inches. Once you’ve cut your 2-by-6 inch lumber or PVC jamb to the correct height, attach it to the header using framing nails. The thickness of the header should cover the difference between the rough opening and the height of the garage door.
Step 4: Measure Your Floor-To-Ceiling Height
You will need to add two pieces of framing on the wall of the garage beside the opening. These frames will attach the garage door’s tracks to the wall. You might hear this frame referred to as a “goal post” by your garage door installer. These jambs will fit the height of your garage from the floor to the ceiling.
Once you’ve measured the height, cut two pieces of lumber to this exact height.
Step 5: Attach Your Goal Post
Use framing nails to attach the two pieces of the goal post to the inner face of your garage wall. You’ll want to run up against the head jamb you installed during step three.
Step 6: Install the Side Jambs
Cut two pieces of lumber or PVC door jambs to the new height of your opening. The side jambs will hit the bottom of the jamb header you’ve already installed. These jambs should be the exact height of your garage door minus 1/4 of an inch, so they don’t quite hit the ground. Attach these door jambs using framing nails.
We recommend using double side jambs to support this weight, so you will need to install two trimmers each on the left and right side. Once you’ve installed the side jambs, the door opening should have the same dimensions as your new door.
Step 7: Attach the Center Bracket Framing
Measure the distance between the top of the header you’ve installed to the ceiling. Cut a piece of lumber to this height and center it above the header. Your garage door installer will use this piece of framing to attach the center bracket of your garage door’s spring system.
Garage Door Framing Tips
Here are a few quick tips for proper framing for your garage door:
- Wait until the wall is in place to install head and side jambs.
- To prevent moisture wicking and rot, leave side jambs 1/4 of an inch above the concrete floor.
- If you choose to use one-inch material, such as 1-by-2, 1-by-3 or 1-by-4 inch boards, reduce the header length and height accordingly.
- Never use treated lumber for door jambs, it will rust the steel and eats holes in the aluminum.
Contact Halo Overhead Doors to Frame Your Garage Door
Halo Overhead Doors is the only Clopay® Master Dealer in Houston, Texas. Whether you’ve already followed our garage door framing instructions or are looking for an experienced dealer to build a frame for you, we can help. We can install a garage door that welcomes you home each day and makes you happy every time you pull into your driveway.
Learn more about our garage door installation services, and see why our friendly, expert service technicians are the best team to fit your home with a new garage door. Contact us today for assistance with framing and installing your new garage door.