6 Common Places in Your Home Where You’re Losing Energy
February 28, 2024
Did you know your home can lose between 25 to 40 of its cooling and heating energy because of air leaks?
When homeowners think of “energy efficiency,” they often think about things like solar panels, better light bulbs and turning off the lights when they leave a room. All those things do help. In fact, reducing the amount of energy consumed in your home decreases the average monthly cost of utilities, reduces pollution and keeps your home at a more comfortable temperature.
But, there’s more to an energy-efficient home than a few lightbulbs.
Making your home energy efficient means finding ways to help your home’s existing systems to operate efficiently during each season. Unfortunately, a homeowner’s efforts to increase their home energy efficiency can often be hampered by pesky air leaks, gaps and holes in areas of the home. These let air pass in and out of the house and negatively impact a home’s temperature.
How to Tell If Your Home is Losing Heat
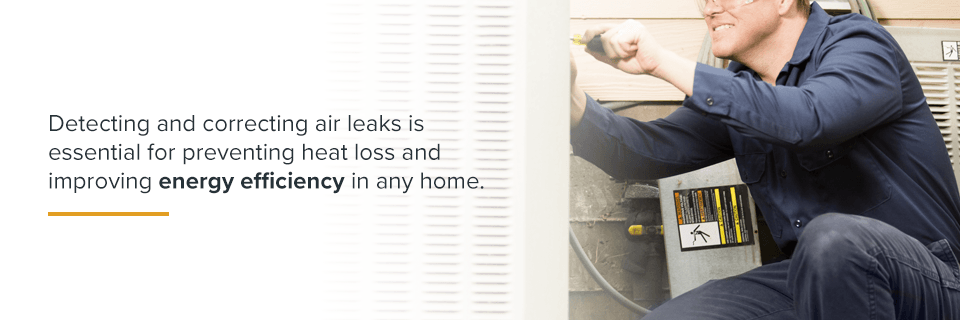
One important step toward reducing the amount of energy you consume in your home is to identify air leaks. Detecting and correcting air leaks is essential for preventing heat loss and improving energy efficiency in any home. Heat loss can be a huge drain on your home’s energy efficiency because it forces your home’s systems to work harder to compensate. A homeowner could easily assume their heater isn’t working properly when, in fact, leaks are causing the temperature in the home to remain below what is desired.
There are two primary ways to identify where your house is losing heat from air leaks:
1. Visual Inspection
Visual inspection has two parts: interior and exterior. To complete a visual inspection of your home, you’ll want to make sure you thoroughly inspect both areas.
When you inspect the exterior of your home, pay close attention to any place where two different materials meet, including corners, the areas around faucets, the convergence between the foundation and the home’s exterior walls. You’ll also want to check the place where your home’s siding and chimney comes together.
Inside, you’ll want to follow the same rule of thumb and thoroughly inspect anywhere two materials come together, including window and door frames, electrical outlets, baseboards, fireplace dampers, fans and vents, cable television outlets, phone jacks, door frames and more.
2. Building Pressurization Test
If you suspect an air leak, but you can’t identify it with a visual inspection, a building pressurization test should be your next step. When the pressure in a room isn’t balanced correctly — which is ideally what a good heating and/or cooling system should do — the temperatures in the room will be off.
For example, if the pressure in a room is too low, that means interior air is being drawn outside through a leak. If the pressure is too high, then exterior air is finding its way into your house and you are losing energy.
What Are Some Areas of Your Home That Lose The Most Energy?
Wondering where the air leaks are in your home? Air leaks can be in all sorts of places around your home. It can be challenging to identify them if you aren’t sure where to start, but typically there are five primary places where leaks occur. Knowing where these places are can help you quickly identify and correct a leak as soon as possible.
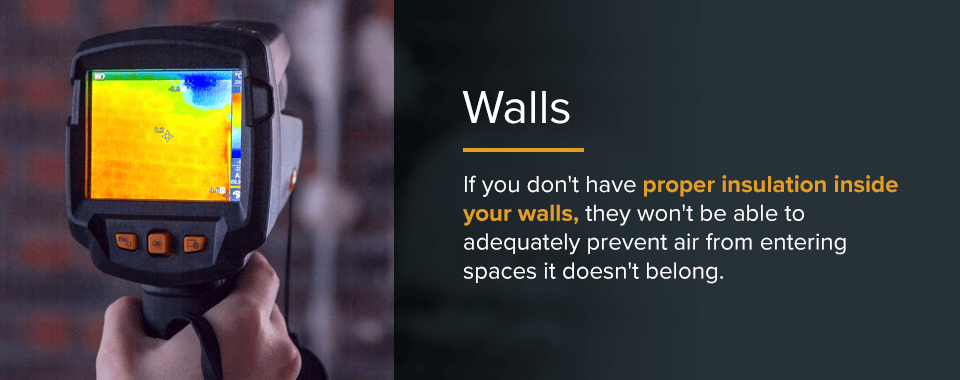
1. Poorly Insulated Walls
Insulation within your walls creates a barrier to air flowing in and out of your house. That means it keeps warm air inside during winter and blocks heat from coming inside during the summer months. If you don’t have proper insulation inside your walls, they won’t be able to adequately prevent air from entering spaces it doesn’t belong.
How to Fix It
If your walls don’t have insulation at all, and your walls are your typical stud walls, applying blown-in insulation can make a big difference in preventing heat loss. If you already have existing insulation, it may not be doing its job. Consider upgrading your insulation, especially in your attic space — which can have a big impact on your home’s overall temperatures. It’s the most common place for air leaks to occur.
There are three common materials for insulation you’ll find on the market today: foam, fiberglass and cellulose. On their own, none of these is necessarily better than another. However, their effectiveness comes down to how well they are installed. To ensure maximum efficiency, it’s essential to hire a contractor who is experienced in installing insulation and will use an infrared camera before and after installation to identify any empty spaces where insulation is missing or is not thick enough.
2. Electrical Outlets
Many homeowners don’t realize their electrical outlets are a potential source of leaks around their home. These items are so small and so common that it’s easy to overlook their potential to impact your home’s efficiency. Outlets are actually a significant potential source for leaks, though, because they are cut into the wall of your home. Both interior and exterior outlets have the potential to allow air through the tiniest of cuts.
Think of it this way — if you have six electrical boxes on your ceiling, each with a 1/8″ gap around it, that’s the same as having a 4″ hole in your ceiling. That’s a lot of space for air to leak through!
How to Fix It
One way to seal electrical outlets is to place a foam gasket between the outlet plate and the switch. Unfortunately, these don’t always seal as they should, and air leaks continue to happen. The best way to ensure your outlets are properly sealed and able to prevent air leaks is to seal ceiling boxes and gaps themselves. The gaps around wall-mounted boxes can be sealed with a standard caulk. For ceiling boxes, you’ll want to opt for fire-blocking foam or caulk. The fire blocking properties of this are important because, in the event of a fire, the caulk or foam will swell to maintain the seal, rather than melting and creating an air flow that can actually feed a fire.
If you have recessed wall boxes — ones set back into your drywall — you can purchase a box extender to attach to the existing box making it easier to seal.
3. Pipes/Wires
One place you might not think to inspect for air leaks is the space around your pipes and wires. Because pipes and wires come through holes that are cut in walls and flooring, however, there is always the potential for even a small gap to transfer outside air in and vice versa. This can also be a problem because these gaps can allow moisture-heavy air into your home where it can condense and create moisture issues.
How to Fix It
Ideally, the company or person who built your home should have sealed the pipes when they were installed. Some pipes are sealed inside flooring or drywall, or even behind a shower or tub. If you suspect a leak behind your drywall, you’ll want to call in a professional to evaluate the situation and help you determine a good solution. If you find a leak around exposed pipes, though — such as those under your kitchen sink — you can easily seal the gap yourself using caulk or a canned foam spray.
If you’re about to undertake a kitchen or bathroom remodel, this is the perfect time to address potential air leaks around pipes and wires.
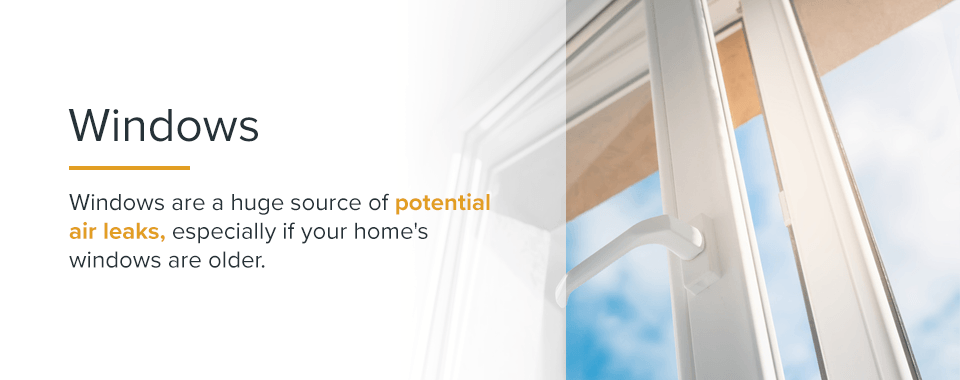
4. Windows
Windows are a huge source of potential air leaks and energy loss in the home, especially if your home’s windows are older. Many homeowners assume that if their windows are leaking, then it must be time for replacements, but that isn’t always true. If you live in an older home with single glazed windows, then the problem may be that they just aren’t effective barriers between your home and the outdoors.
In that case, purchasing Energy Star-rated windows will give you the best return on investment. However, replacing windows can be an expensive undertaking that should only be done after you have exhausted other options.
How to Fix It
If you aren’t in the market for new windows, but they’re causing problems, then it’s time to improve the seal around them. Replacing — or adding — weatherstripping and caulking around the frame can do a lot to reduce potential sources of leaks. There are a number of products on the market designed to help homeowners correct this problem on their own.
In some cases, adding storm windows over top of single glazed windows may be an option. Storm windows are a removable glass panel that can be placed over existing windows to block extreme temperatures, especially cold. If you suspect that your single glazed windows are the source of air leaks, it’s best to consult with a contractor or a company who specializes in windows to determine the most cost-effective way to improve the efficiency of your windows.
In cases where existing windows have damage to the glass or the frame around them, repairing the damage by filling in cracks and replacing broken pieces can also help to resolve air leaks.
5. Entry Doors
The framing around your door can be a big source of air leaks, as can your door itself. If you have a wooden door that expands when it’s hot and shrinks when it’s cold, the door itself might not fit properly into the frame. Or, the frame may have some gaps causing leaks around it. In either case, this can cause problems for homeowners.
Doors are one of the many items a homeowner can check with a building pressurization test or visual inspection. In fact, it’s easy to inspect a door frame for air leaks because you can simply hold a stick of incense up to a closed door and watch for movement in the smoke. You can also look for gaps of light that might be visible between the door and frame.
How to Fix It
In some cases, it might be time for a new door. But, in most cases, just as with windows, homeowners can take steps on their own to repair air leaks around the doorways. When you identify the places air leaks occur, you can note what kind of fix they will require. In some cases, you may need to install new weatherstripping on the door. In other cases, homeowners can use caulk or sealant to fill small gaps that have occurred.
6. Garage Doors
Many people don’t consider their garage to be part of their home’s living space, so it is often overlooked as a potential source of air leaks. The truth is that your garage’s energy efficiency has a direct impact on the rest of your home. In fact, the more efficient your garage is, the lower your home’s overall carbon footprint will be. In other words, if you want your home to be more energy-efficient, it’s important to spend time making sure your garage lives up to that goal as well.
Many times, garages aren’t very energy efficient because contractors don’t place the right compressible foam between the concrete floor and lower framing. Or, in other cases, the walls of the garage were not insulated properly, allowing air from the outside to easily penetrate the walls — this is especially a problem for any wall that connects the garage to the rest of your home.
A lot of other potential problems you might find in the garage are similar to ones you’d find in the house itself, including leaks in the electrical outlets, windows or even doors.
Also, the condition of your garage door can make or break your home’s ability to properly regulate temperature. This typically happens for one of two reasons: Either the weatherstripping around the door is worn, damaged or missing, or if the door itself is in poor condition.
How to Fix It
If you suspect that your garage door is a source of air leaks in your home, then your first step is to have your door evaluated by a professional garage door company. Halo Overhead Doors has a team of experienced, highly trained technicians who can identify problems with your current door and help you figure out how to address them quickly and safely.
While it is possible to add insulation to the walls of your garage problem yourself, we never recommend using your garage door as your next DIY project. Because garage doors are heavy, they can quickly become dangerous. Besides that, home repairs don’t always go as planned, and you run the risk of causing more damage. In the case of garage doors, a small repair may end up costing much more than it should because of the damage that was incurred during a homeowner’s attempt to fix it on their own.
In some cases, your garage door may be old and needs to be replaced. Purchasing a new garage door is a great way to improve your garage’s energy efficiency because you can choose a door that is built for your home and the climate where you live.
Contact Halo Overhead Doors to Stop Losing Energy with a New Garage Door
Improving your home’s energy efficiency doesn’t have to mean converting to cleaner fuel or installing expensive equipment. Sometimes the best thing you can do for the environment is to improve on what you already have.

Your garage is a great place to start. If your door is old or damaged, it might be time for a new one. You could shop around for weeks looking for beautiful doors. But why shop around when you can come straight to Halo Overhead Doors?
As Houston’s only Master Clopay Dealer, Halo Overhead Doors is proud to showcase a variety of the highest quality doors on the market today. Contact us to request a free estimate or drop by our showroom. You can also check out our selection online. Your home — and your family — will thank you.